Nagpur’s monsoon damage usually begins with water collecting beside the footing, runoff striking one weak point, or saturated soil pushing against a wall that was never designed to retain it. By following a seasonal inspection plan, correcting drainage, and separating cosmetic marks from structural movement, you can reduce damage and act quickly when the wall starts to shift.
Key takeaways
- Inspect cracks, leaning sections, outlets, and soil levels before heavy rain.
- Slope runoff away from the foundation and clear blocked drainage paths.
- Treat ponding and soil erosion quickly before they undermine the wall.
- Repair cracks only after saturated ground dries and movement has stopped.
Inspect the Wall and Ground Before the Monsoon
To prevent garden compound wall for damage during rains in nagpur, inspect it before the first heavy storm, not after the soil has become saturated. Short, intense monsoon bursts can overwhelm small outlets, so treat the wall and surrounding ground as one drainage system.
Include these checks in garden boundary wall maintenance:
1. Clear drain inlets, weep outlets, leaves, and soil. Confirm that every downpipe discharges away from the foundation, not beside it.
2. Look for ponding, washed-out soil, exposed footing, and damp soil touching the panels. Remove accumulated soil from the base without burying drainage outlets.
3. Examine post-panel joints, panel ends, coping joints, gate-post foundations, changes in wall height, and old-to-new construction transitions. Record the position and width of cracks, gaps, leaning, or displaced parts so you can compare them after rain.
4. Check that finished soil and paving fall away from both faces. Keep sprinklers and irrigation emitters away from the footing, and do not let roots lift paving or block drains.
5. Confirm that raised garden beds, driveways, or neighbouring soil have not made one side higher. A compound wall is not a retaining wall; saturated backfill can push it over. Use a separately engineered retaining structure or a free-draining stepped level instead.
Where surface slope cannot remove water, inspect the designed drain or perforated pipe and its cleaning access before the monsoon. A buried pipe without an accessible outlet can fill with silt and stop working.
Make Runoff Flow Away from the Foundation
Set finished soil and paving to fall away from the wall, not toward it. A fall of about 1:50, or 20 mm per metre, gives rainwater a clear direction; a flat strip lets Nagpur’s intense showers collect against the footing.
Keep garden soil below the intended drainage level and do not build a raised bed hard against the panels.
- Compact the soil in thin layers, then check the slope with a straightedge and spirit level. Replace depressions that hold water beside the foundation.
- Lay paving with its fall directed to a surface drain or swale, and seal the wall-side joint so runoff cannot disappear into the edge. Do not let paving bridge a joint or cover inspection points.
- Place a grated drain at the low side of the paved area, not directly against the footing. Give it a clear outlet and fit a removable grate so leaves and silt do not block compound wall drainage.
- Extend every roof downpipe to a stormwater line, recharge pit, swale, or approved outlet. A short pipe discharging beside the wall can wash away soil and leave the footing saturated.
- Keep hose outlets, sprinkler spray, and irrigation emitters away from the base. Avoid plants whose roots lift paving or block drains beside the footing.
Do not add weep holes to an ordinary freestanding precast wall as a shortcut. They help only when the wall retains soil and has a drainage layer behind it; the outlet must discharge visibly onto a free-draining face and remain protected from soil and insects.
Check the drain inlet and downpipe outlet before each monsoon storm.
Manage Ponding, Saturated Soil, and Erosion During Prolonged Rain
If water is already ponding beside the wall, stop every avoidable discharge immediately. Turn off irrigation, move hose outlets, and extend roof downpipes to a stormwater line, recharge pit, swale, or other approved outlet. Do not let a temporary diversion send fast-flowing water toward another footing.
Use these controls while the rain continues:
- Clear leaves and soil from surface-drain inlets without excavating beside a saturated footing.
- Remove blockages from existing weep outlets only when the wall retains soil and a drainage layer leads to them. Do not drill new holes in a freestanding panel.
- Place sandbags or a weighted tarp around an eroding patch, keeping both away from the panels and posts. The barrier must slow water, not trap it against the wall.
- Pump or siphon ponded water to a safe outlet if it remains after rainfall eases. Discharge through a hose or pipe, not over exposed soil at the base.
Keep vehicles, foot traffic, new soil, and concrete away from saturated ground. Wet soil loses support, and loading it can turn minor settlement into garden wall rain damage.
When water recedes, photograph the ponding depth and erosion path. Mark any new gap, displaced post, leaning panel, or exposed footing; isolate that area and obtain a civil engineer’s assessment if movement is increasing. Cleaning is not compound wall drainage when the same water keeps returning.
Tell Damp Staining from Dangerous Wall Movement
Moss, algae, white efflorescence, and brown discoloration usually show persistent wetting or salt movement, not immediate collapse. Wash the surface, check the drainage source, and photograph the area; cleaning will not stop garden wall rain damage if water continues entering the base or joints.
| Condition | What it can indicate | Action |
|---|---|---|
| Hairline, stable surface crack | Shrinkage or finish movement | Record it and recheck after the ground dries |
| Widening diagonal or stepped crack | Settlement, rotation, or lateral pressure | Ask a civil engineer to inspect before patching |
| Rust streak, spalling concrete, or visible reinforcement | Corrosion and loss of concrete cover | Arrange urgent technical repair |
| Leaning post, displaced panel, open post-panel joint, or shifted coping | Foundation movement or connection failure | Keep people and vehicles clear; obtain urgent repair advice |
| Footing exposed, soil washed away, or a new gap beneath the wall | Erosion or settlement | Stabilise the area and seek an urgent inspection |
Inspect post-panel joints, panel ends, coping joints, gate-post foundations, height changes, and old-to-new construction transitions closely. These points move and leak before an uninterrupted wall face does.
Treat a wall as unsafe until checked if it leans visibly, moves when pushed, has a rapidly widening crack, or holds back higher soil, a driveway, or a raised bed. A boundary wall is not a retaining wall; saturated soil can overturn it.
Do not seal weep outlets, construction joints, or movement cracks with waterproof coating until the cause is identified.
Repair the Cause After the Ground Dries
Wait until the soil has drained and the footing is no longer saturated. Photograph each face, then compare crack width, panel alignment, post lean, footing settlement and erosion with your pre-monsoon record. This is the point to separate cosmetic precast garden wall problems from movement that needs investigation.
- Clear drain inlets and weep outlets, then check that water can actually pass through them.
- Wash accumulated soil, moss and algae from the base without directing a high-pressure jet into joints.
- Inspect coping, panel joints and sealants for open gaps, spalling or loose sections.
- Confirm that roof downpipes still discharge away from the foundation and that no ponding remains beside either face.
- Keep sprinklers and irrigation emitters away from the footing; remove roots blocking drains and do not raise a garden bed against the intended drainage level.
Repair the cause, not just the mark. Restore the ground fall, redirect a downpipe, or install a designed surface drain or perforated pipe wrapped in filter geotextile. Give any buried drain a cleaning access point; silt-filled pipe without an outlet soon becomes useless. Seal a sound, dry joint only after movement has stopped.
Do not patch widening diagonal cracks, displaced panels, exposed or rust-stained reinforcement, a leaning post or a settled footing before inspection. If soil, a driveway or a raised bed sits higher on one side, arrange a retaining solution rather than treating the wall as one.
A specialist installation review from Urbtec Precast is worthwhile when panel seating, post sockets, drainage levels or foundation movement remain uncertain. Record the repairs as part of garden boundary wall maintenance before the next monsoon.
Related products
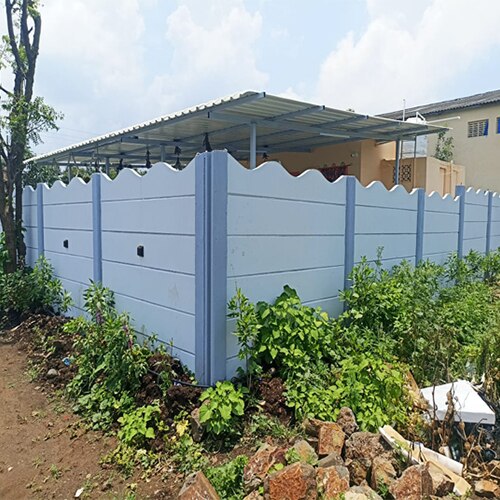 | Compound Wall Material Cement Built Type Modular, Panel Build Usage/Application Garden Surface Finish Rustic Height 4 Feet Wall Thickness 5-20 mm URBTEC PRECAST... View product → |
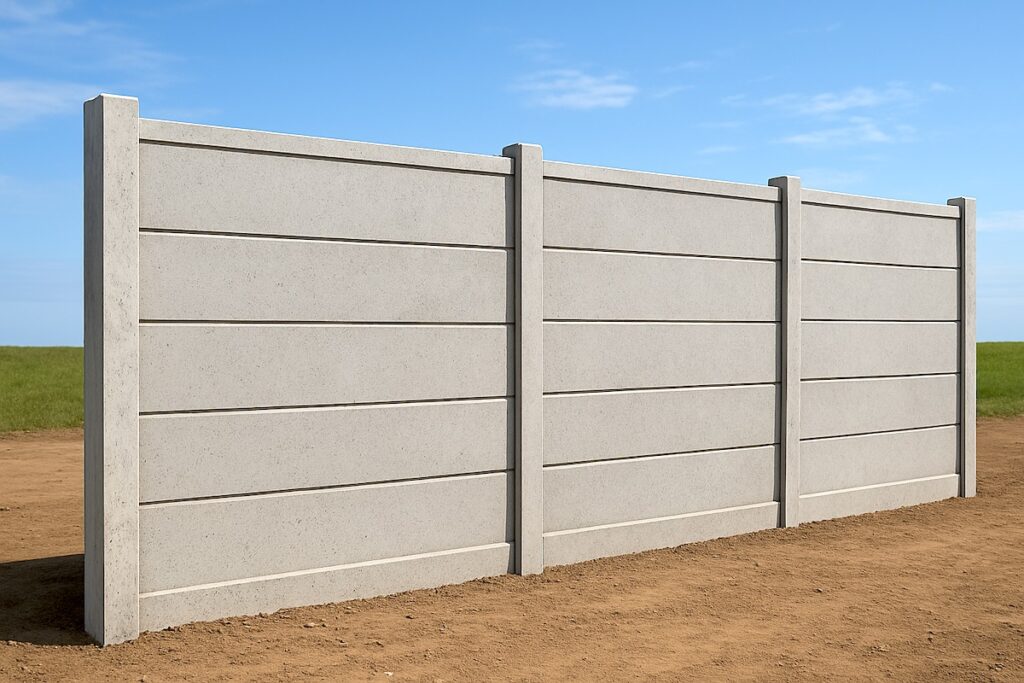 | Compound Wall Precast Concrete Compound Wall Wall Type Compound Wall Thickness 50 mm Material Concrete Built Type Panel Build, Prefab Build Beams Size 6x6 Inches, 150x150 mm, 200 mm x 200 mm... View product → |
Frequently asked questions
How should you inspect a garden compound wall before the Nagpur monsoon?
Check for new cracks, leaning or displaced sections, blocked outlets, exposed foundations, low spots, and soil piled against the wall before heavy rain begins.
How do you improve compound wall drainage during rain?
Clear outlets and channels, keep runoff moving away from the foundation, and correct ground levels that direct water toward the wall.
What should you do when rain causes ponding or soil erosion near a garden wall?
Remove blockages, divert standing water, and protect washed-out soil before prolonged saturation weakens the foundation.
How can you tell damp staining from dangerous garden wall movement?
Damp staining affects the surface, while widening cracks, leaning, displaced panels, bulging soil, or a changing gap indicate movement that needs attention.
When should you repair a rain-damaged compound wall?
Wait until the surrounding ground dries and stabilises, then repair the drainage or foundation cause before filling cracks or replacing damaged sections.
Related products
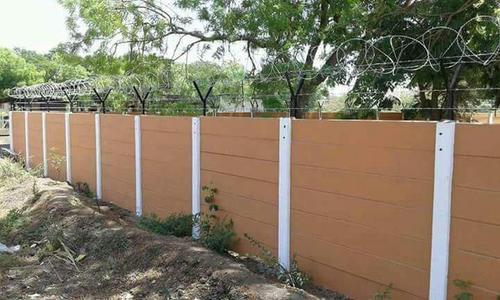 | Compound Wall Precast Rcc Boundary Compound Wall Material RCC Thickness 10-40 mm Built Type Panel Build, Modular Shape Rectangle Height 7 Feet Wall Thickness 5-20 mm We, URBTEC PRECAST, are leading... View product → |
 | Compound Wall Material RCC, Concrete Thickness 10-20 mm Built Type Modular, Panel Build Height 9 Feet Wall Thickness 5-20 mm Urbtec Precast We, Urbtec Precast, are... View product → |
 | Compound Wall Material Concrete Built Type Modular, Panel Build Shape Rectangle Surface Finish Rustic Height 6 Feet Wall Thickness 5-20 mm View product → |
 | Compound Wall RCC Ready Made Precast Compound Wall Material Rcc Wall Type As per requirement Thickness As per requirement Type As per requirement Size As per requirement Built Type As per requirement... View product → |
Keywords